Intoduction to Ren'Py - Tutorial
Are you curious about how Ren'Py games are made, or even interested in creating a Visual Novel of your own?It's pretty easy to get started, let us show you some of the basics while building a scene from our game!
Ren’Py is an engine that’s tailored to make Visual Novels. It runs on Python, but the language you use is specific to Ren’Py. You can still use Python for certain purposes. Having a basic grasp of coding helps, but you can just jump into the action and learn as you go!
Upon creating a project, you’ll be greeted with the Ren’Py launcher. We’ll jump right into “script.rpy”, as scene creation is the focus right now. You’ll have to download a text editor to write the code in, I personally go with Visual Studio Code.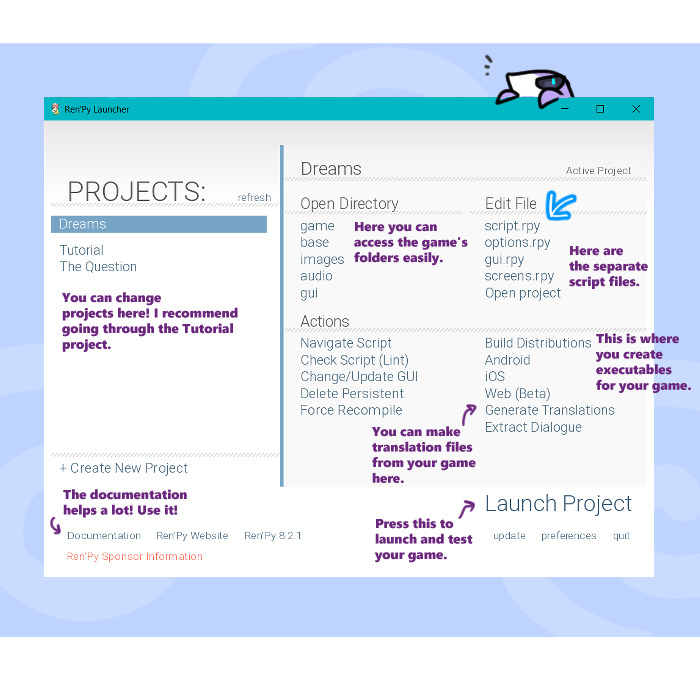
This is how you create your character. In this example, we’re just defining their names, the file name prefix and name colors.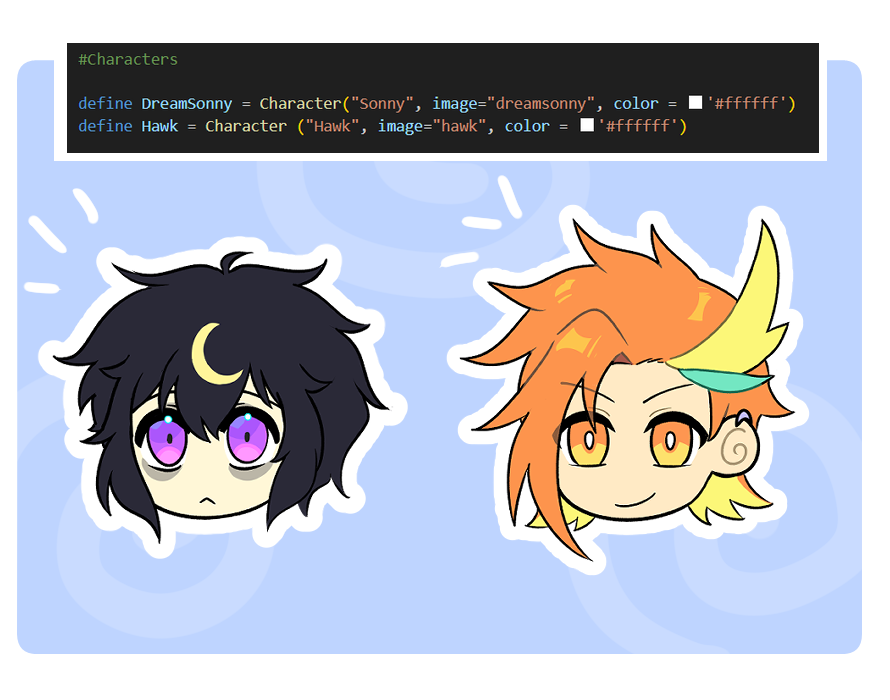
Btw, that “# Characters” that you see is called a Commentary. It’s not an actual piece of code, so you can leave notes for yourself or others like this, it’s very convenient! Just place a # before what you write on that line to use it.
Now, with label start, everything written from this point will happen when the player starts the game. Starting a new line, it’ll be inside the label, like if you pressed tab. It’s called Indentation.
Then, you can make them speak by typing their name + dialogue between "".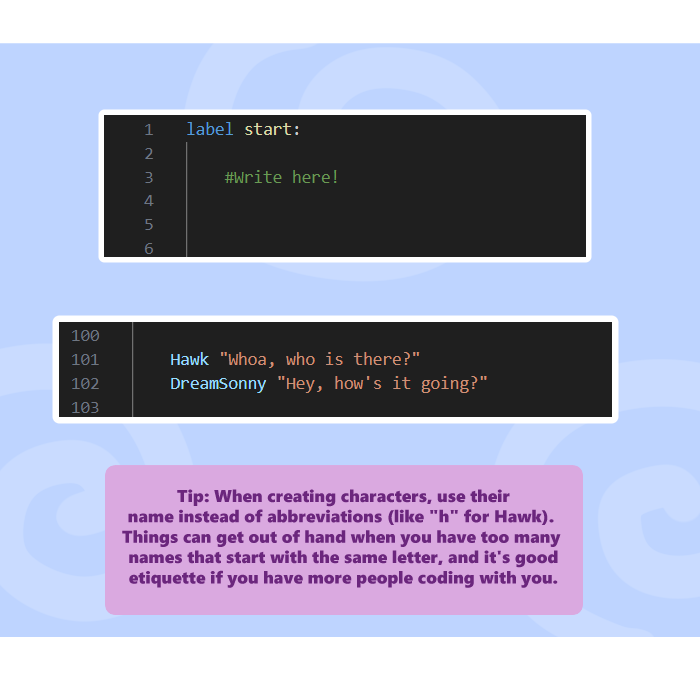
Now we need some sprites. We’ve already defined their prefix on the character creation, so now we just have to add the sprites to the ‘image’ folder, along with the expression name as following.
After that’s done, type “show” followed by the file name.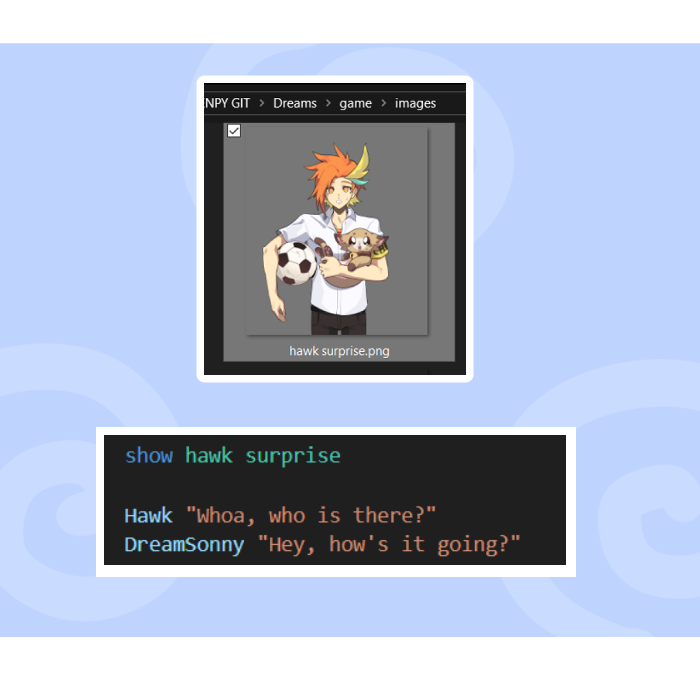
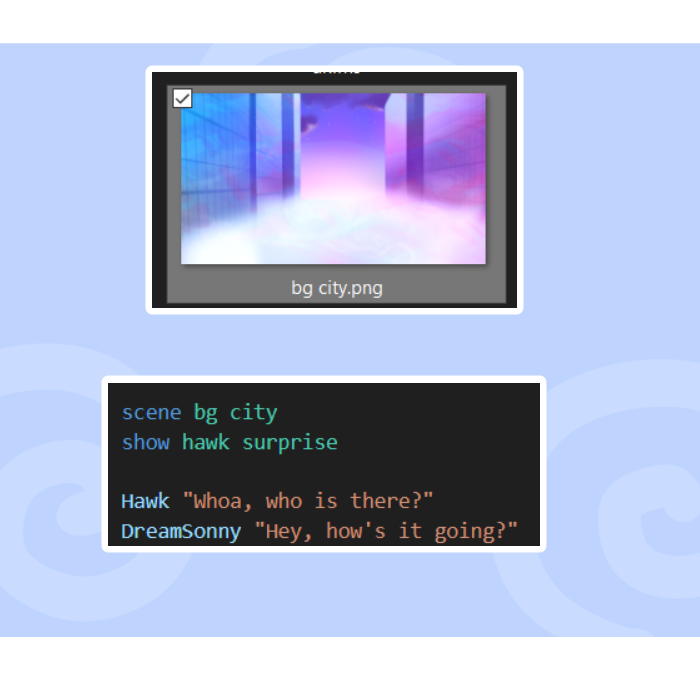
A background to set the ambience would be nice, right? To do that, save your background image to the images folder. Then, type “scene” followed by the file name. Scene is different from show, as it clears off images that were present before.
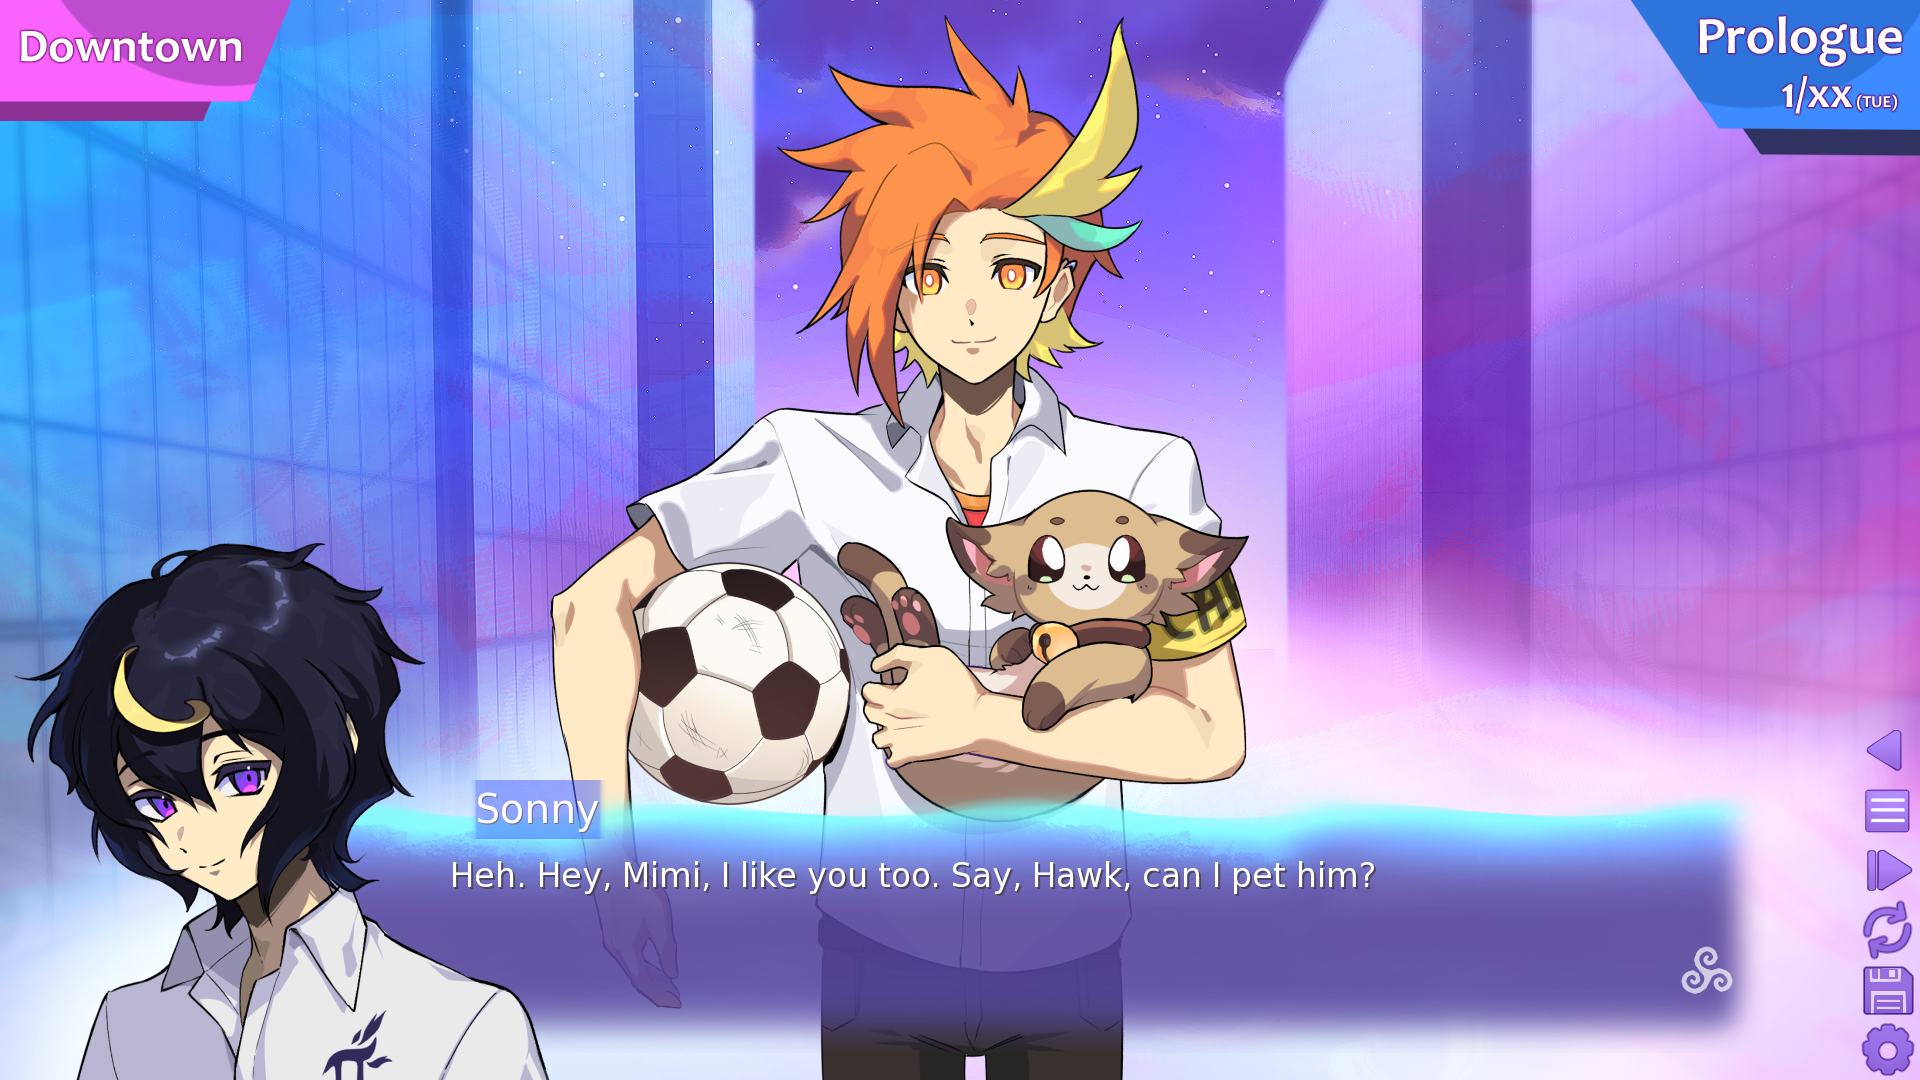
Hey- What about Sonny’s sprite?!
For him, we use a portrait that appears to the side of the text box.
When saving your file, add a “side” prefix to it.
You’ll also need to assign a blank png file to the image, otherwise a dummy full sprite will show along with the side sprite.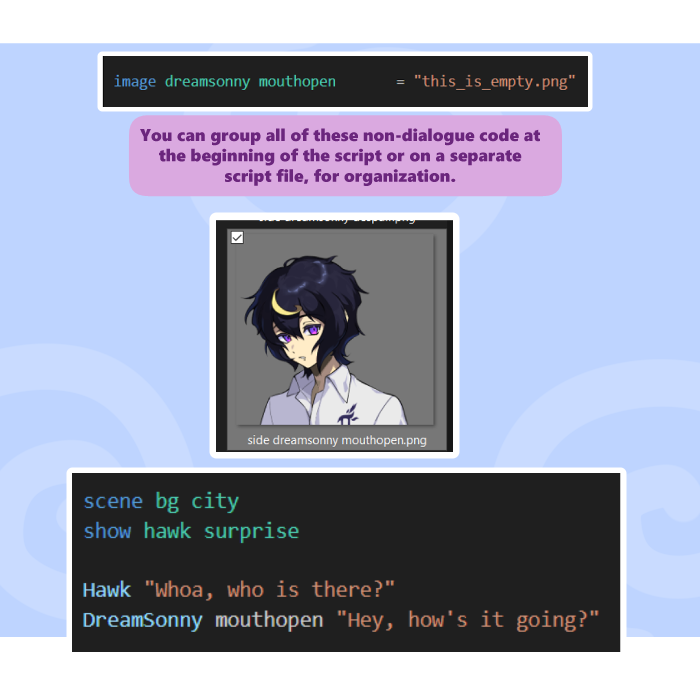
Did you notice we added the expression name right after the character’s name? You can do this to easily change between expressions without having to use “show” every time. You might still wanna type it out for timing, but we’ll get to that later
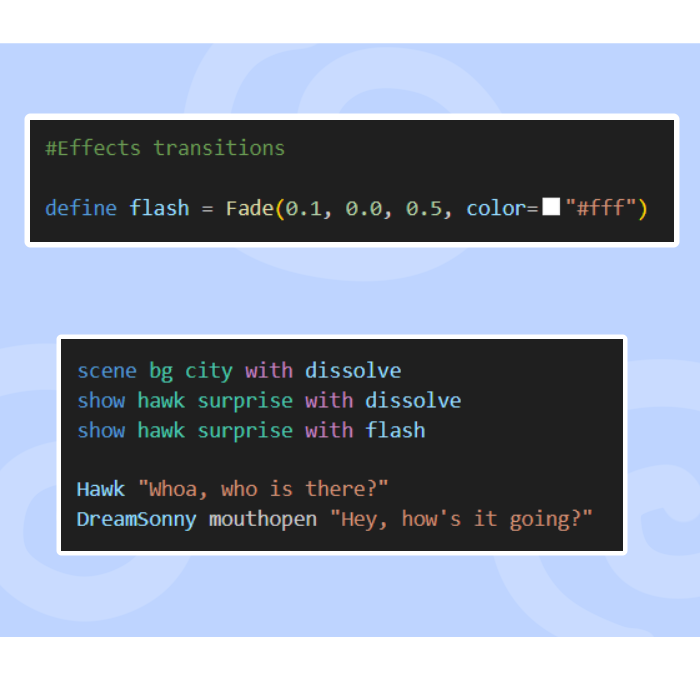
Now, we have a scene going, but isn’t it a bit too abrupt? There are some ways to ease the player into a scene, by using transitions and effects.
Let’s play with dissolve and flash. Add them using the “with” statement.
It’s still going a bit too fast. If we want to add some suspense and anticipation, we have to tinker with timing! We can do it using “pause”.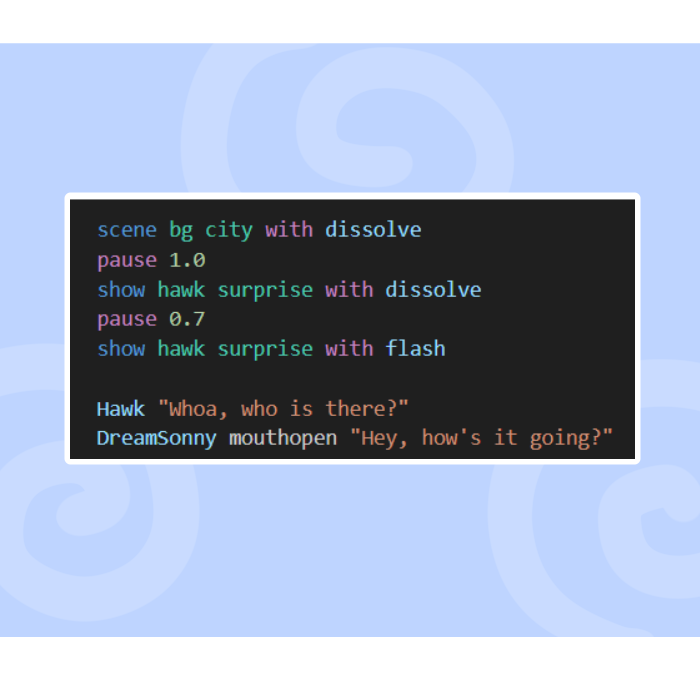
Now we’re only missing some audio. To add that in, use “play music” for the OST, and “play sound” for sound effects. Be sure to test if they fit the timing of the images as you go.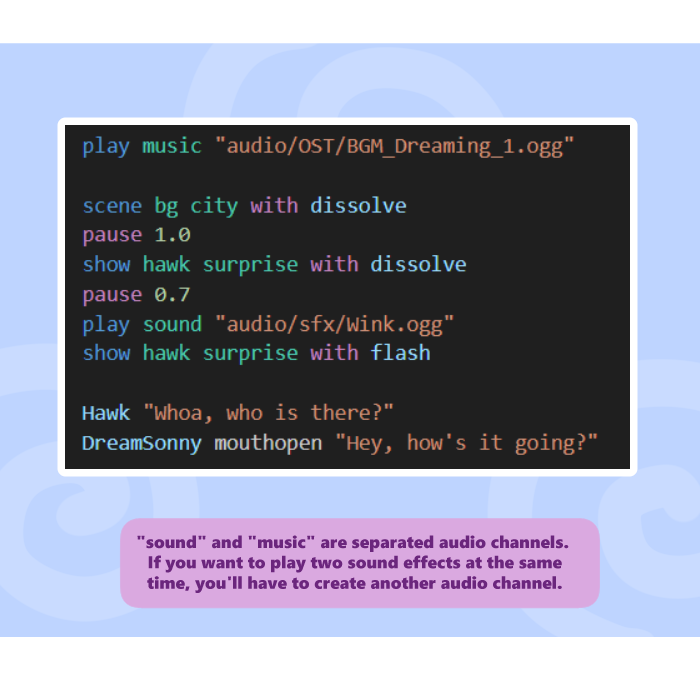
And there you go! This is just a small example of what you can do with Ren’Py, and there’s a lot you can achieve with just this. These basics combined with carefully planned transitions and timing can make some really cool scenes.
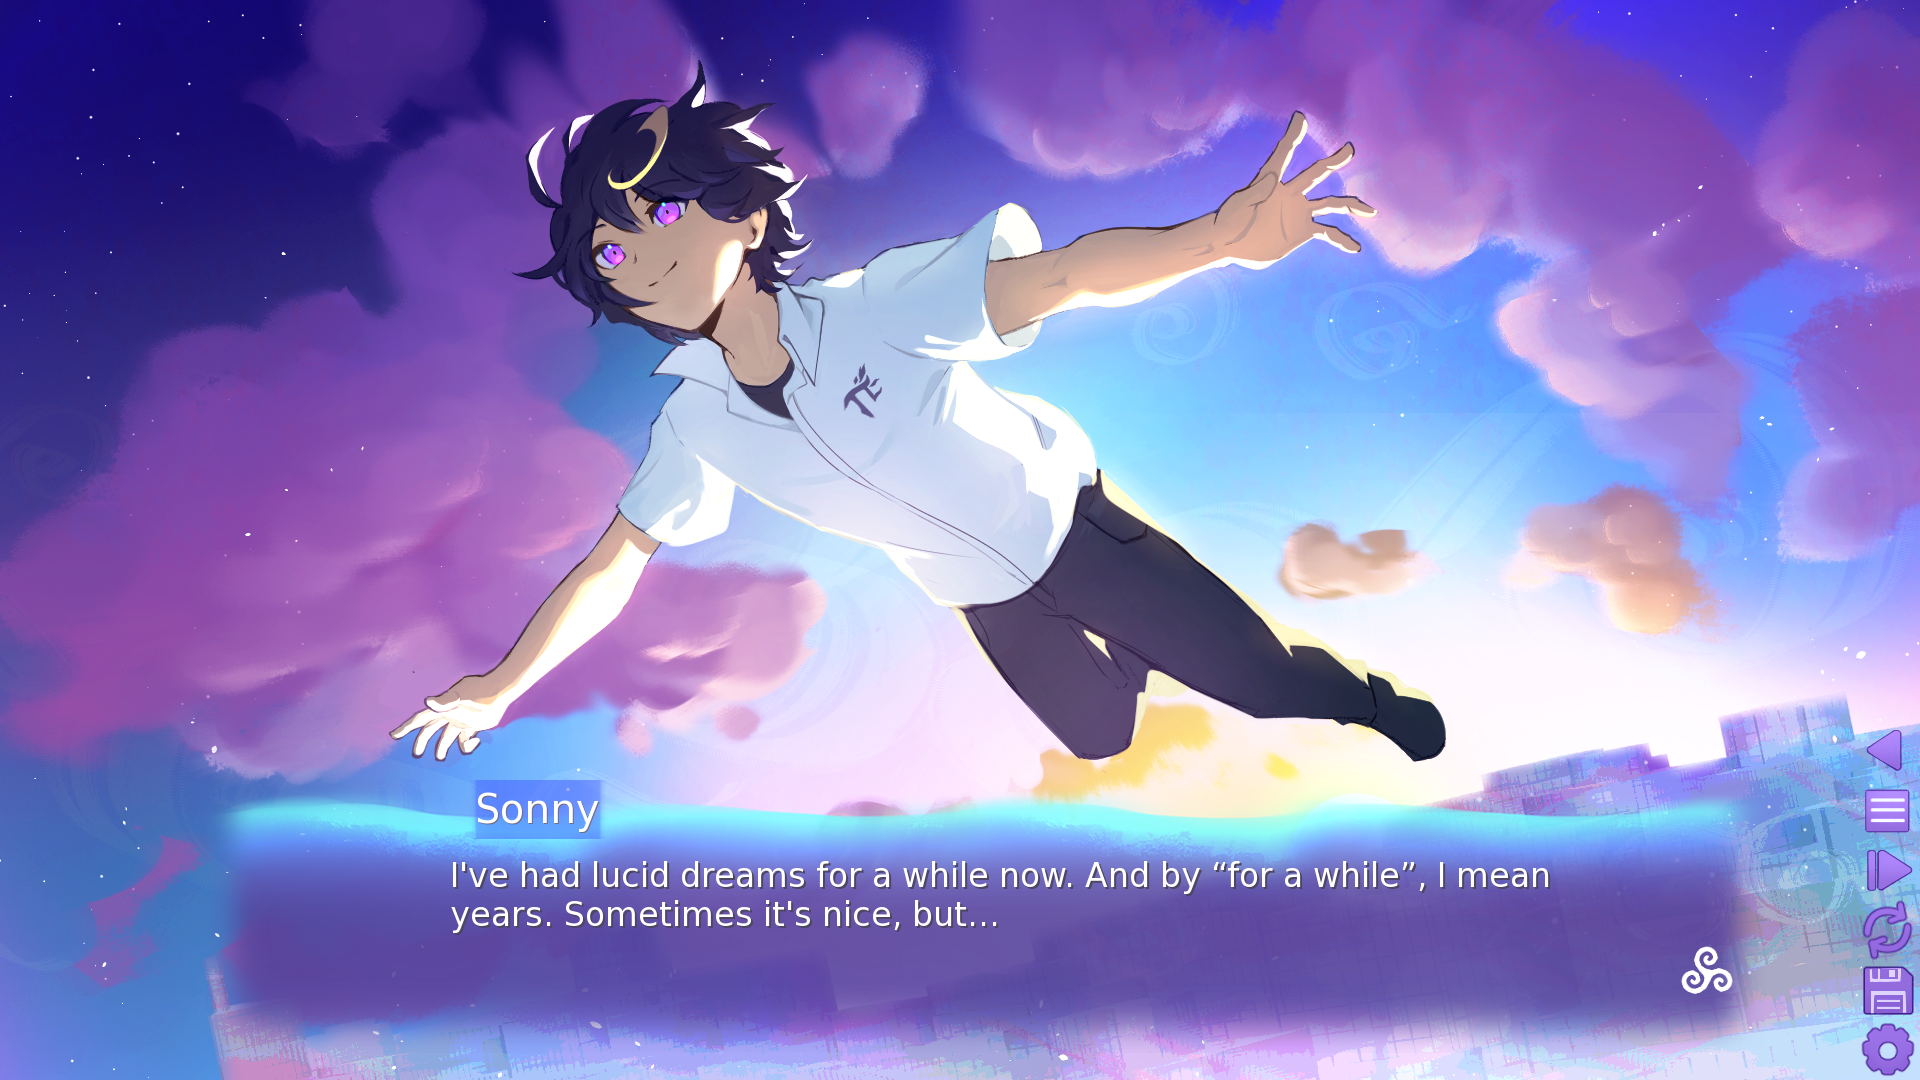
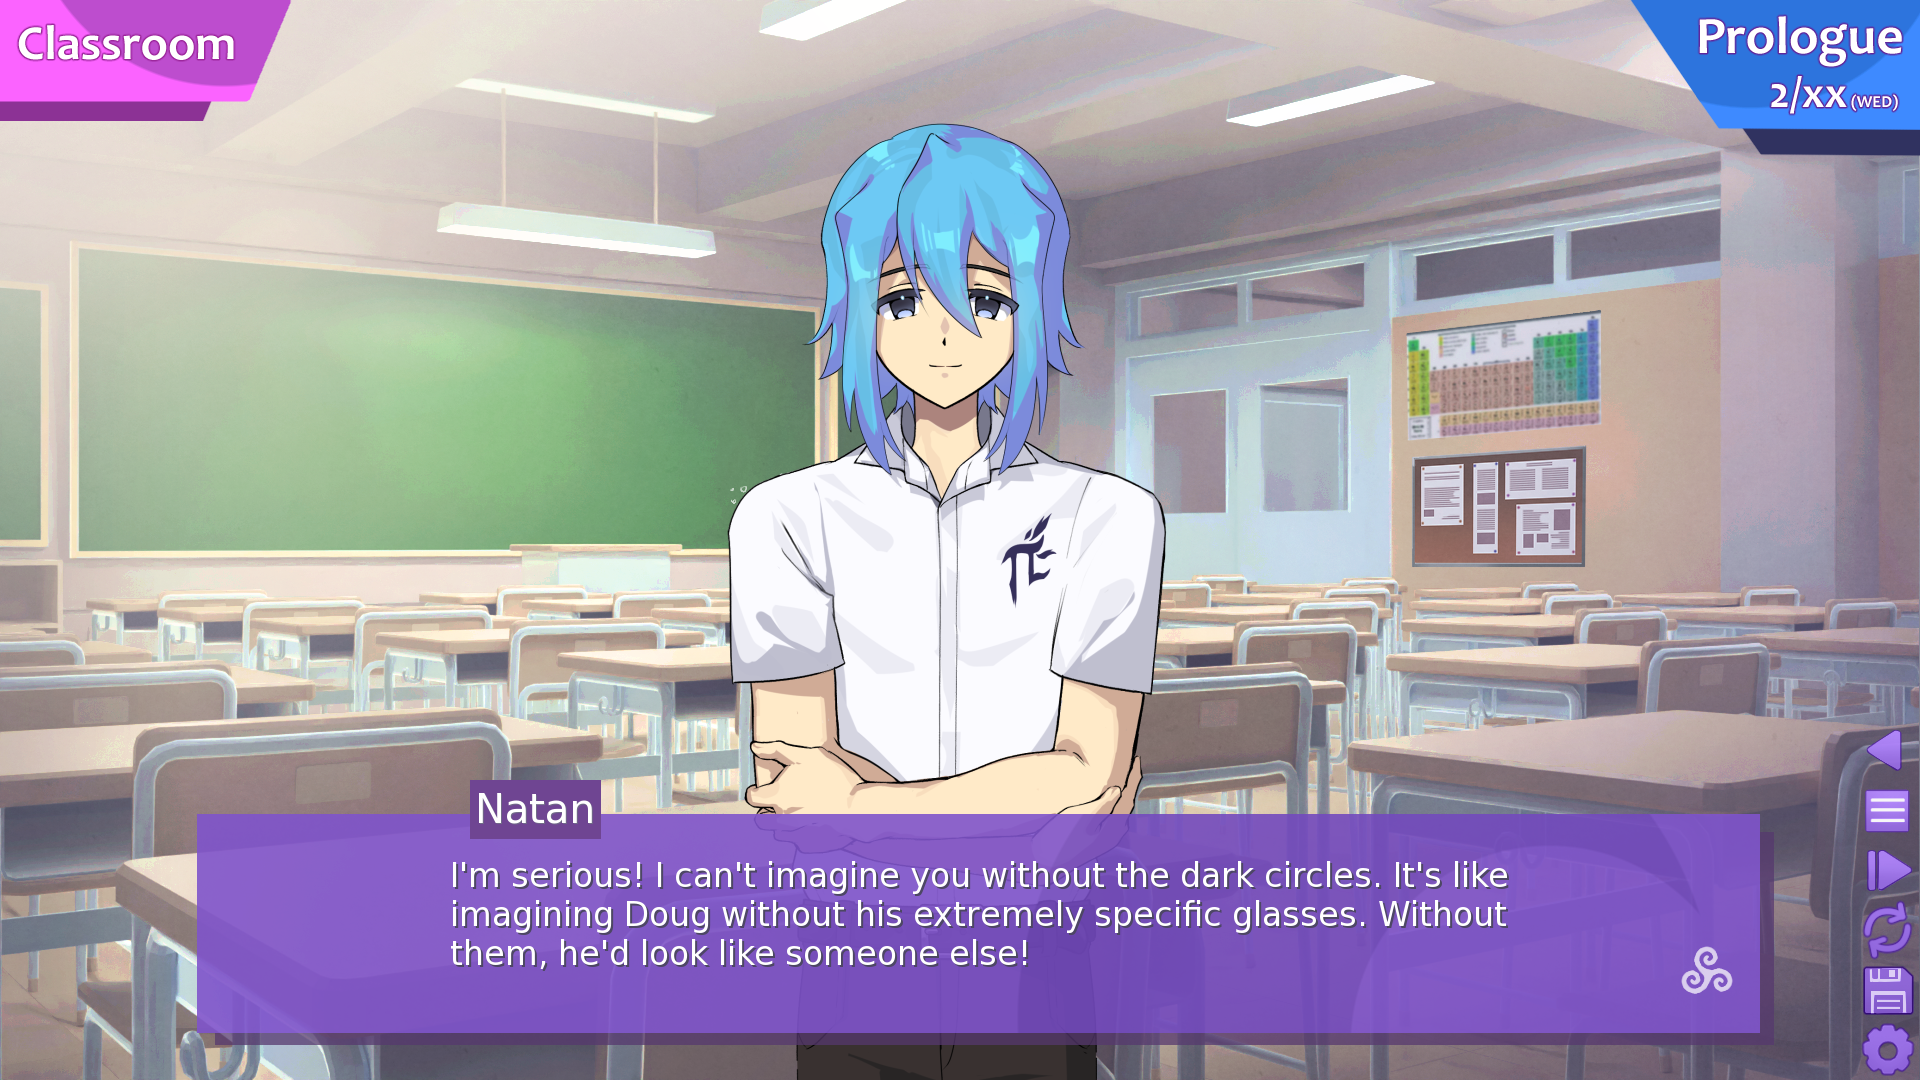
Here’s how the full scene looks like ingame.
You might have noticed we have more stuff added, such as the custom text box, the UI and the flashing icon in the text box. Tutorials for those are coming up too.
If you’re a fan of Visual Novels, be sure to check out our game Dare to Lucid Dream, which has a free to play Demo available right now on Steam! https://store.steampowered.com/app/3055530/Dare_to_Lucid_Dream/
Our Ko-Fi: https://ko-fi.com/ghostpenguindev
Leave a comment
Log in with itch.io to leave a comment.